Difference between revisions of "HxC SDCard Internal"
From CPCWiki - THE Amstrad CPC encyclopedia!
(Created page with '== Description == The following steps show how to install the HxC SDCard Drive as an internal drive on a CPC6128 == What You Need == * An old faulty 3"inch disc drive * A Doub…') |
|||
| Line 4: | Line 4: | ||
== What You Need == | == What You Need == | ||
| + | |||
* An old faulty 3"inch disc drive | * An old faulty 3"inch disc drive | ||
| Line 21: | Line 22: | ||
== Dismantling The Drive == | == Dismantling The Drive == | ||
| + | |||
First we dismantle the original faulty Amstrad 3" inch Disc Drive. You will be amazed how many parts are inside this old thingy. | First we dismantle the original faulty Amstrad 3" inch Disc Drive. You will be amazed how many parts are inside this old thingy. | ||
| Line 32: | Line 34: | ||
[[Image:SDTut2.JPG|600px|centre]] | [[Image:SDTut2.JPG|600px|centre]] | ||
| + | |||
| + | |||
| + | Now cut a perfboard to fit inside the frame. I used the Drill for that, but you can use a sharp scissors or a saw too. | ||
| + | |||
| + | |||
| + | [[Image:SDTut3.JPG|600px|centre]] | ||
| + | |||
| + | |||
| + | [[Image:SDTut4.JPG|600px|centre]] | ||
| + | |||
| + | |||
| + | Looks nice eh? Well done, but still lots to do now.... | ||
| + | |||
| + | |||
| + | Now you look under the frame and drill some holes into the old mounting holes from the Disc Drive PCB. You can use the old screws and drill them inside the new perfboard. On the top you use some Tape Strips to isolate the metal screws. It should look like this: | ||
| + | |||
| + | |||
| + | |||
| + | [[Image:SDTut5.JPG|600px|centre]] | ||
| + | |||
| + | |||
| + | [[Image:SDTut6.JPG|600px|centre]] | ||
[[Category:Hardware]] [[Category:Peripherals]] [[Category:DIY]][[Category:DATA Storage]] | [[Category:Hardware]] [[Category:Peripherals]] [[Category:DIY]][[Category:DATA Storage]] | ||
Revision as of 09:31, 7 July 2010
Description
The following steps show how to install the HxC SDCard Drive as an internal drive on a CPC6128
What You Need
- An old faulty 3"inch disc drive
- A Double Contacted Perfboard (160x100)
- A Soldering Iron / Solder
- A Vacuum Pump for Desoldering (if you make a mistake)
- Some 40way Ribbon Cable
- A 26 Pin Socket Connector
- A 40 Pin Socket Connector
- A Sharp Knife
- A Modellers Drill for cutting, drilling
- A DVD Amaroy Case (preferrably black)
- 3 Micro Switch Buttons
- 2 Self-adhiesive Plastic Motherboard Distance Rods
- Lots Of Old PC Motherboard Jumpers
- Patience And A Big Cup Of Coffee
Dismantling The Drive
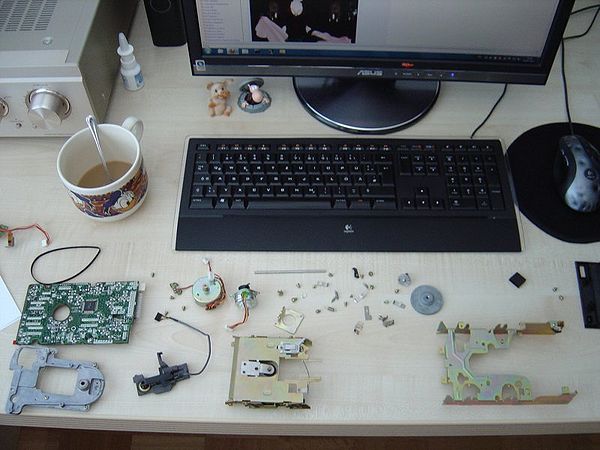
First we dismantle the original faulty Amstrad 3" inch Disc Drive. You will be amazed how many parts are inside this old thingy.
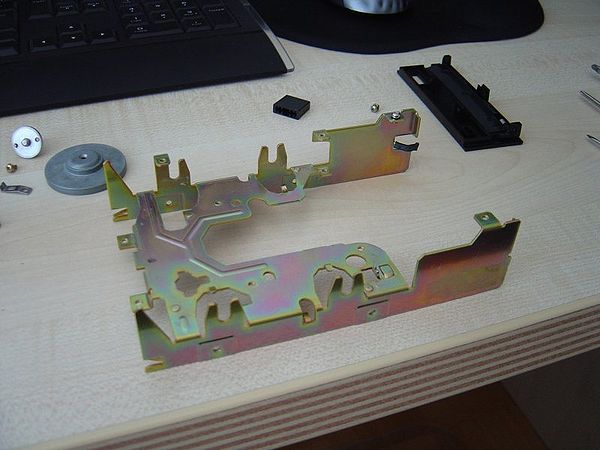
We will just use the frame of the drive:
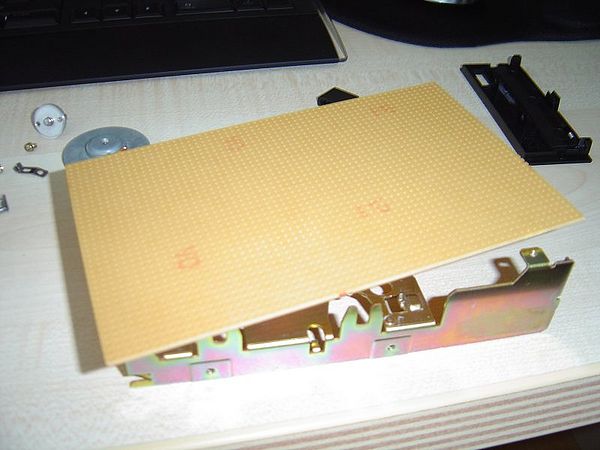
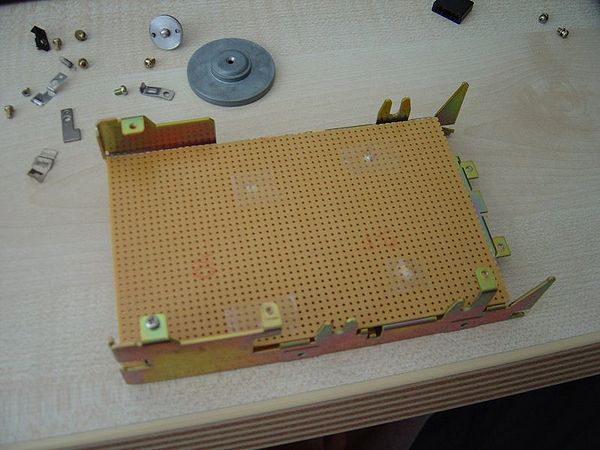
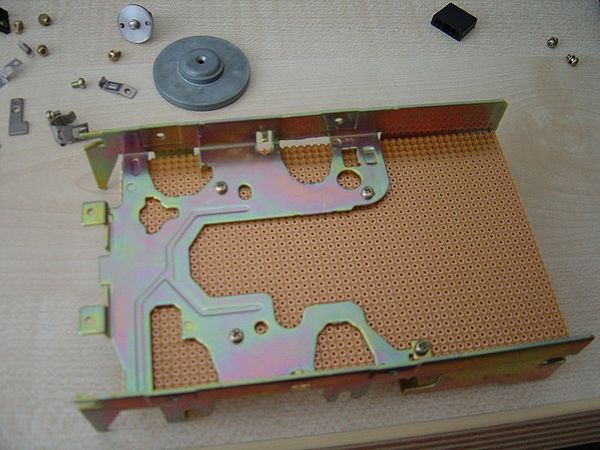
Now cut a perfboard to fit inside the frame. I used the Drill for that, but you can use a sharp scissors or a saw too.
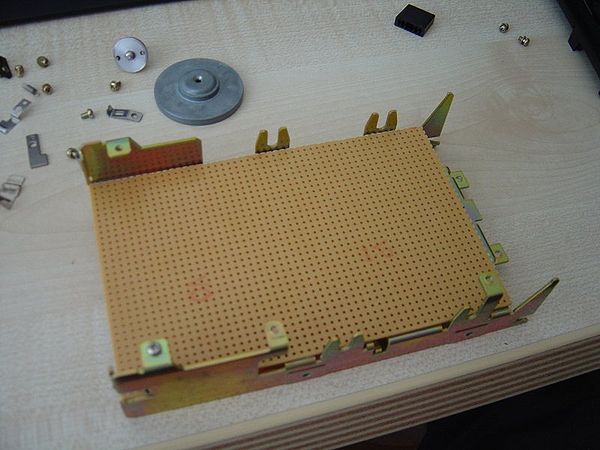
Looks nice eh? Well done, but still lots to do now....
Now you look under the frame and drill some holes into the old mounting holes from the Disc Drive PCB. You can use the old screws and drill them inside the new perfboard. On the top you use some Tape Strips to isolate the metal screws. It should look like this:
