Description
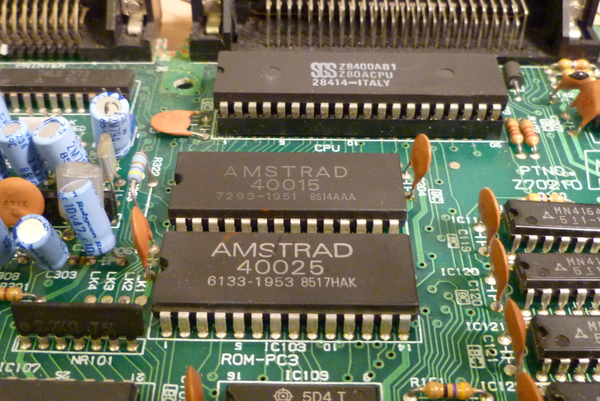
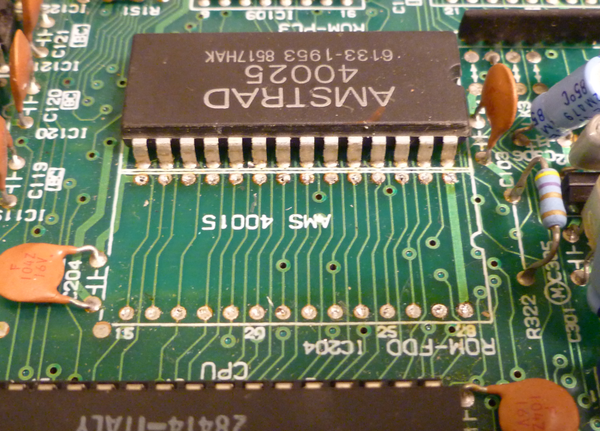
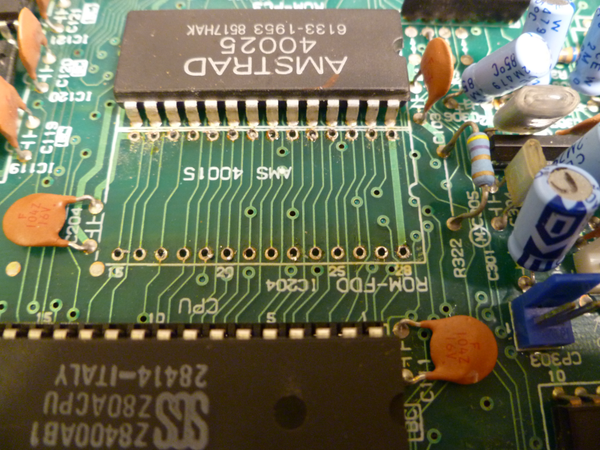
The following is a short guide on how to properly and safely remove or replace an IC in an 8-bit computer. There are usually two situations when someone wants to remove an IC, (A) To repair the device (B) To obtain the IC. The method shown here is for situation A, where you don't care about the IC, you just want to repair the PCB. In this example we are removing the AMSDOS ROM (40015) from a standard 6128 to replace it with an alternative OS.
Warning / Disclaimer
Although I have taken the utmost care preparing this documentation, I do not guarantee that it is error free and I accept no responsibility for damage to anyone’s hardware or other personal equipment or injury inflicted on you or others.
Step 1
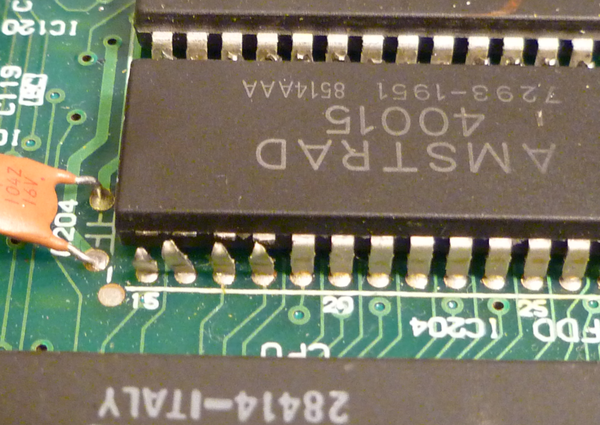
First we need to free the IC from its pins. There are other methods to remove an IC with its pins still connected, but these methods require special equipment. Trying to remove an IC with a standard soldering iron will take so much time and create so much heat, that you will probably end up destroying both the target IC and possibly even other components or the PCB tracks aswell.
Use a small sharp cutters to cut each pin as closely to the IC body as possible.
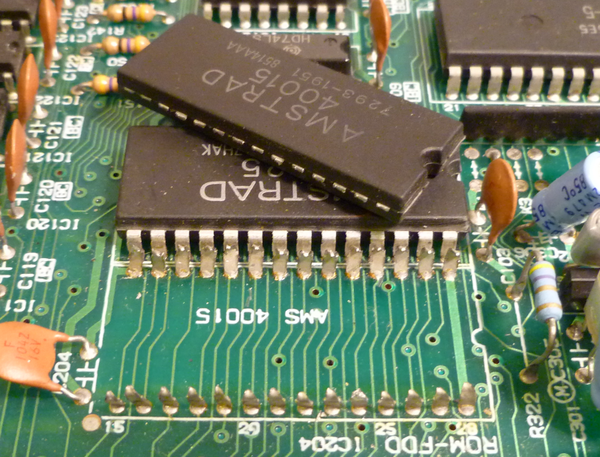
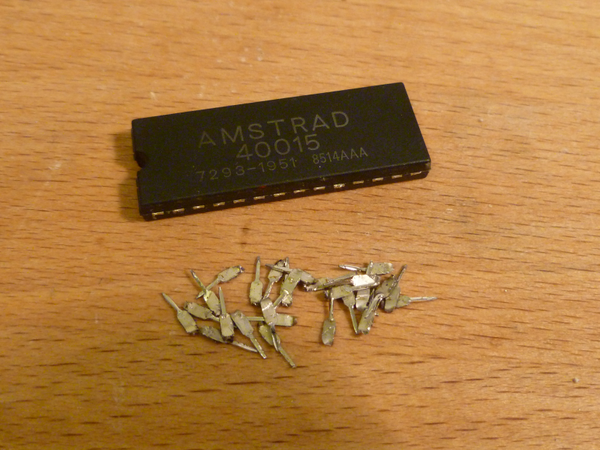
When all pins have been cut, you can remove the body of the IC and it should look something like this:
Step 2
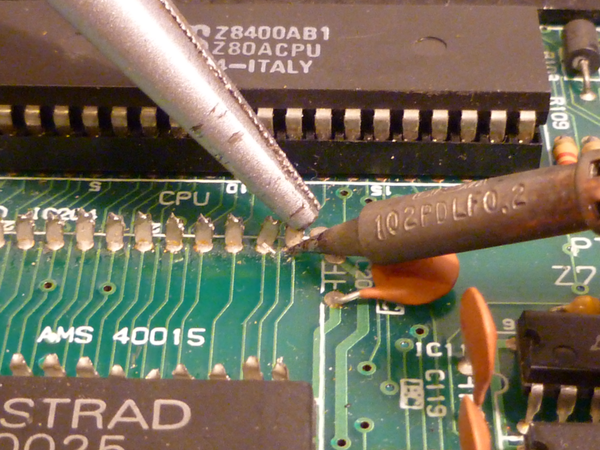
Now we need to remove each pin from the PCB. This should ONLY be done from the TOP of the PCB! Heating the joint from the bottom of the PCB will result in broken tracks on the top side if you pull the pin before it has reached the right temperature! Hold the soldering iron against each pin until it starts to wobble, then pull it gently out of the hole using a long-nosed pliers. Only hold the pin with the pliers AFTER the pin has started wobbling, otherwise the pliers will just absorb the heat and the pin will never get hot enough. If you have a programmable soldering iron, it should be set to 350 - 380°C.
Step 3
When all the pins have been removed, the PCB should now look like this:
The legless IC and its pins can be discarded or kept as a souvenir...
Step 4
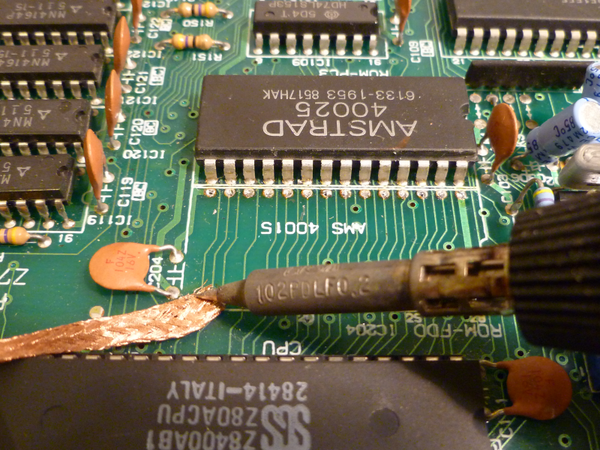
Now we need to remove the remaining solder from the holes. You can use either a solder pump or de-soldering wick to do this. I prefer to use wick.
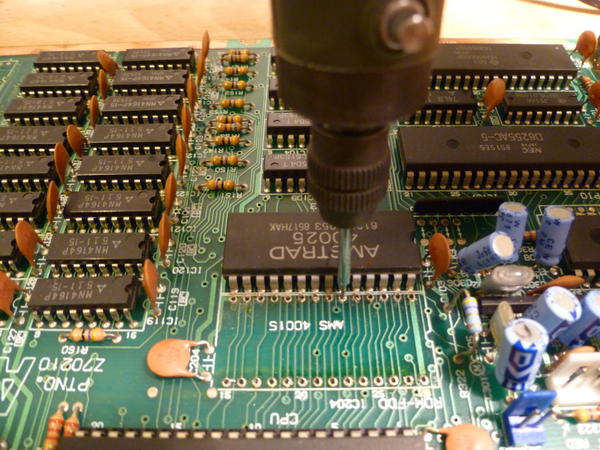
The GND and 5V tracks pins are sometimes quite stubborn due to the track absorbing so much heat. If you are unable to remove the solder from these holes using a pump or wick, then you can carefully re-drill the hole using a 0.8mm drill bit.
When all holes have been cleared, the PCB can be cleaned and is ready for the new IC Socket.
Bryce.
